Photography Props You Need To Take Good Blog Photos
I cannot remember a time when I wasn’t fascinated with photography. From product photography to portraits and landscapes and everything in between. I was never extraordinarily good at it, but the more I learned, the more I loved it.
You may not be attracted to the technical side of it and I still have a lot to discover myself, but I am continuously curious about how you can take an object, a person or a place and show it to the world from your point of view.
As a blogger and owner of both an Etsy shop (where I used to sell jewelry) and an online shop, I was somehow forced to develop both my product photography and my post-production editing skills.
And I’m hoping to inspire you to do the same. Because the truth is that you only need a few tools and a pinch of creativity.
But the benefits of taking your own photos outweigh the cost you will put into these tools. Take for example working with brands. Most brands want to see unique photos with their products and will much more likely choose to sponsor a blogger that takes their own (high-quality) photographs.
Social media platforms, such as Instagram, also heavily rely on creating and posting content consisently, and how good your photos are can determine how fast your account will grow.
From having a good-looking blog, to growing your audience and making money by working with brands, there is no reason why you should ignore your blog photography. And if you’re looking to improve it, you’re in the right place!
Some of the links included in this post are affiliate links. This means I will be credited a part of the commission of the sale you make through it for no extra cost for you. But I actually use the products mentioned here, and I honestly recommend them.
What do you need to take good blog photos?
💎 A GOOD DSLR CAMERA
First off, to take some more than decent product photography, you will need a good camera or an excellent phone camera. When I say a good camera, I don’t mean the latest Nikon or most expensive Olympus. You don’t need an expensive camera to take great pictures. You just need a great vision.
I personally use a Canon Eos M, which is quite affordable and a perfect choice if you’re just starting out and have never worked with a DSLR camera before. It’s great for beginners and once you start figuring out manual mode you will quickly become a pro.
But in time, you may want to invest in a better camera or better lens, because it will drastically improve the quality of your photos and the effort you will need to pun in after (to edit it).
Check out more of my favorite DSLR cameras, available on Amazon below:
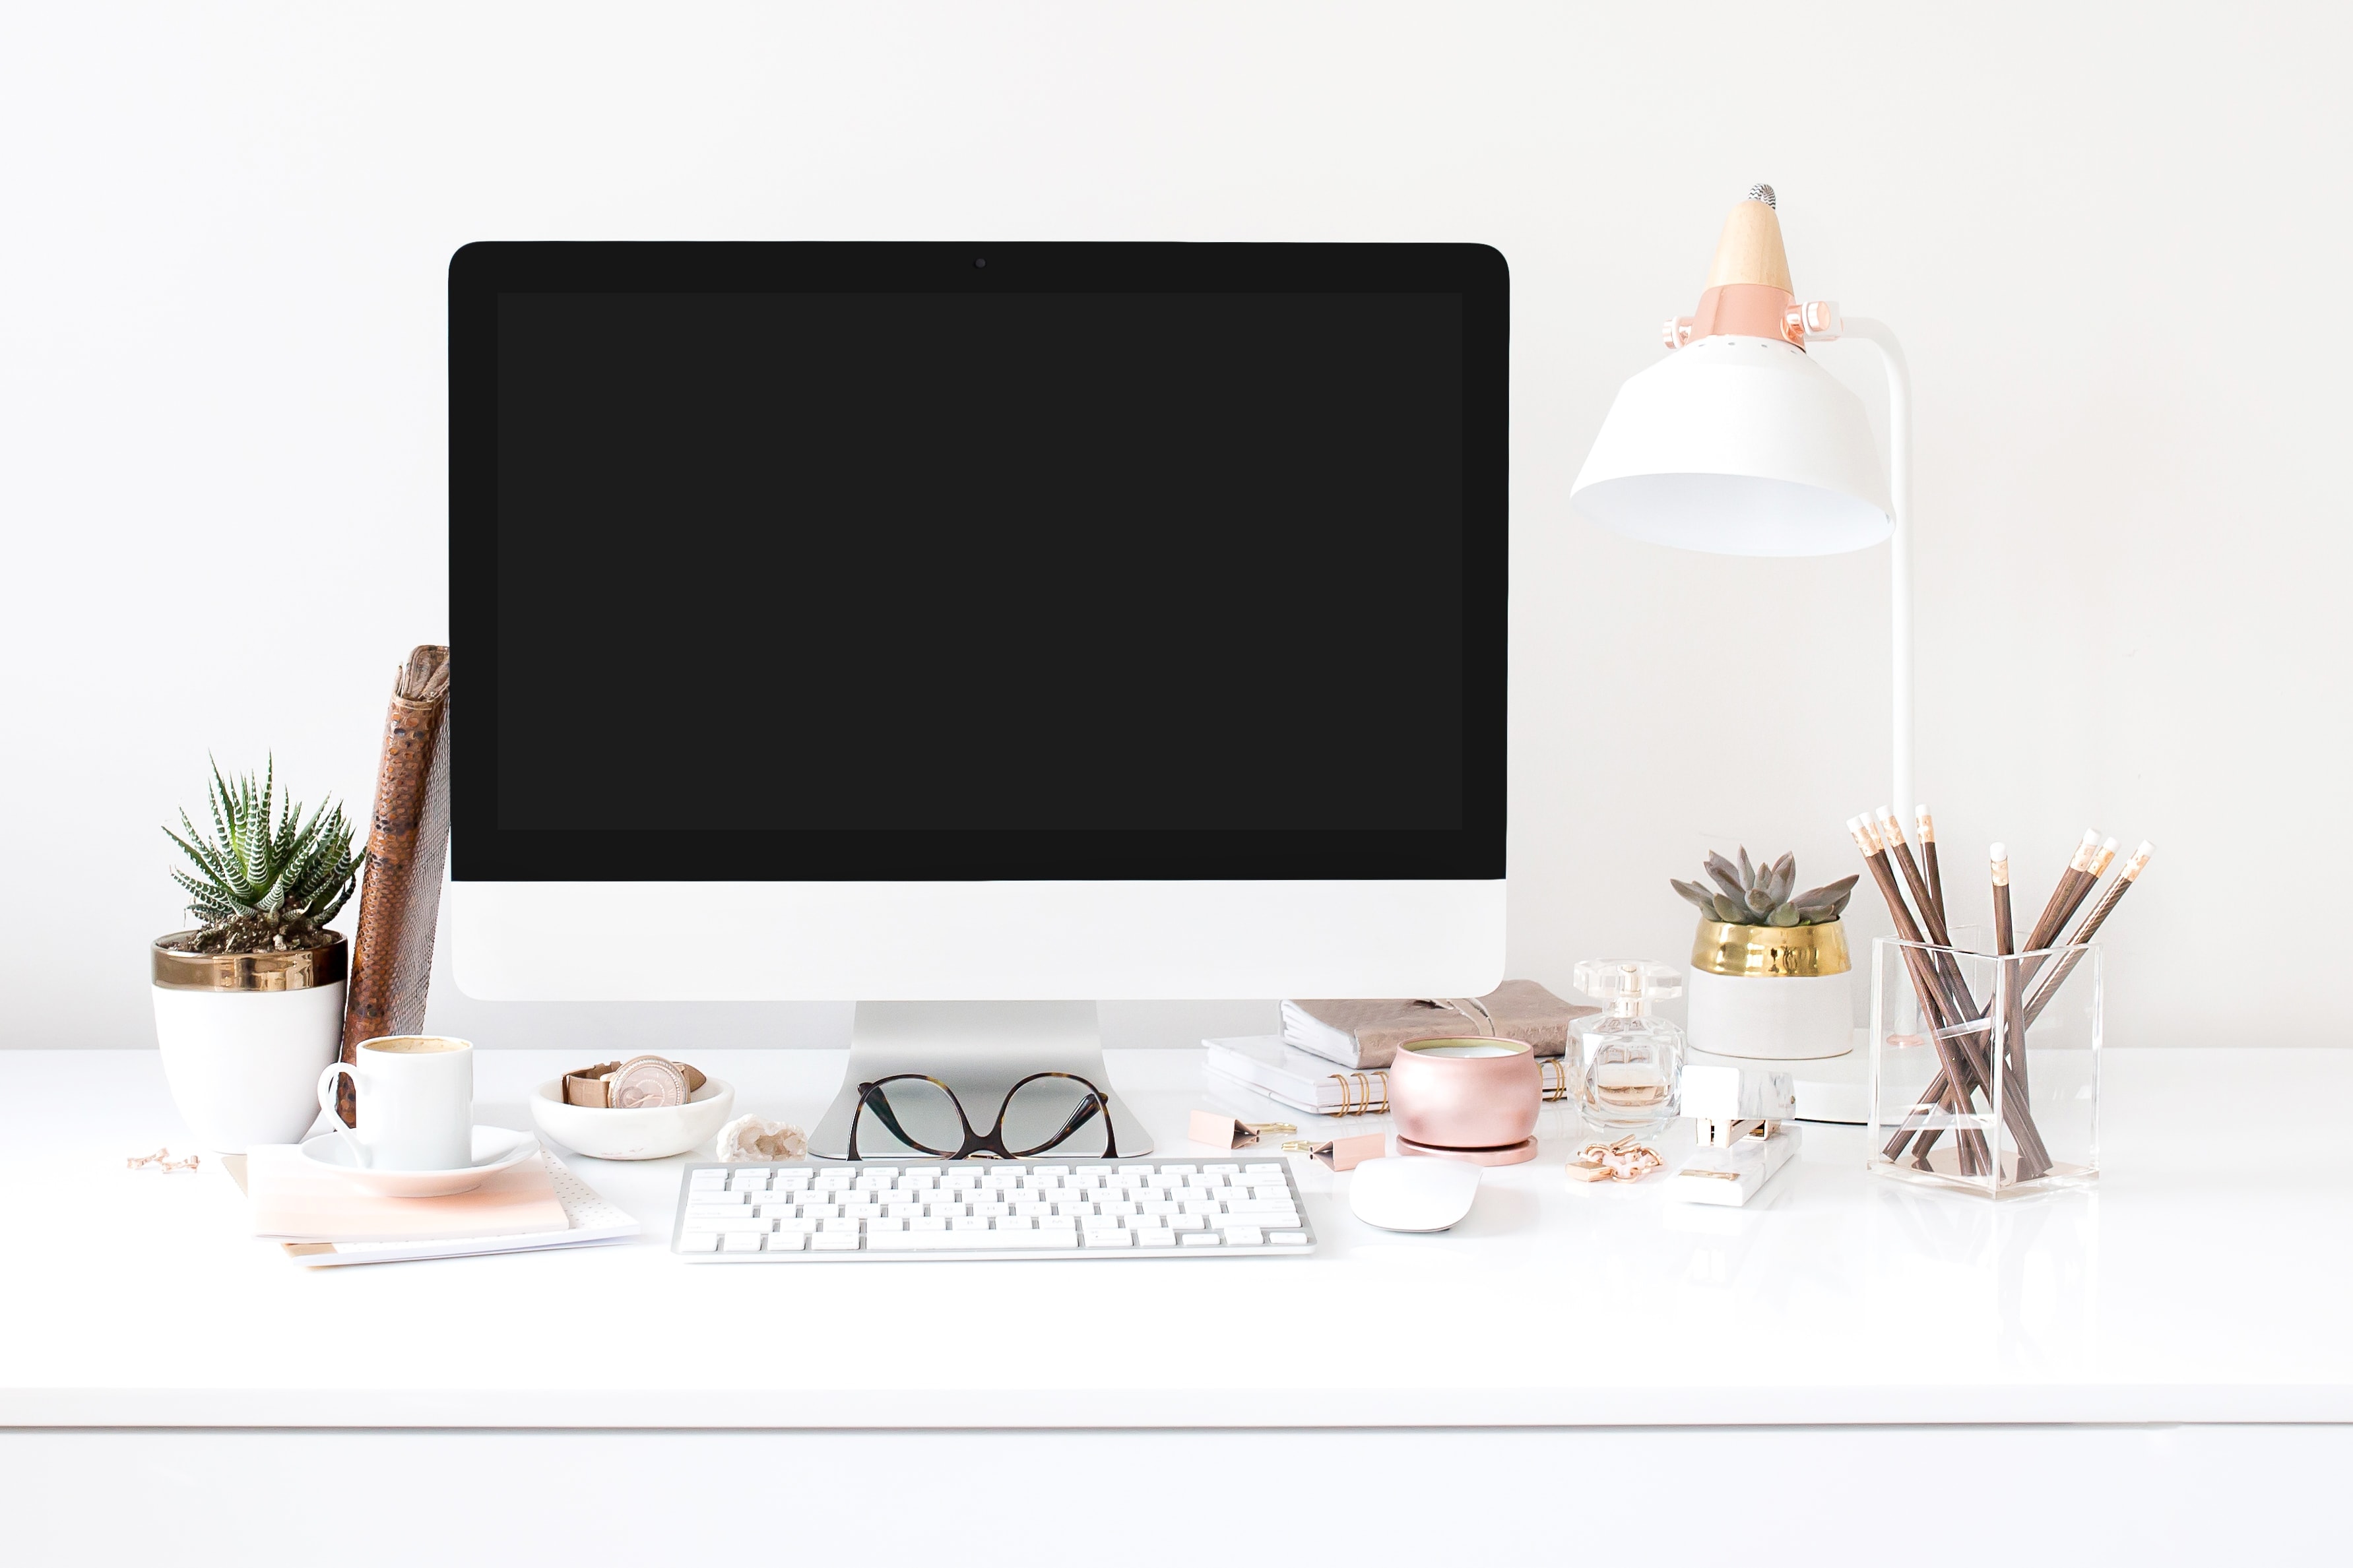
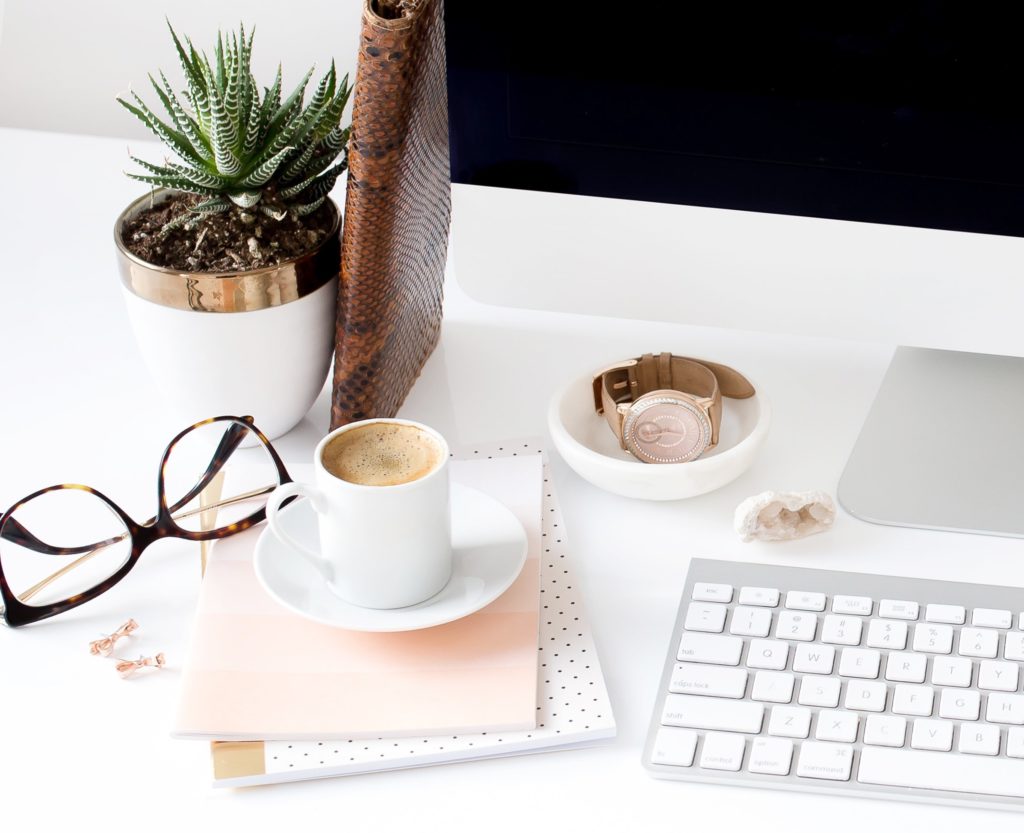
💎 WHITE SURFACE/BACKGROUND
I find that most products stand out when you use a simple white background. You can opt for other solid colors, such as soft pink or beige, as long as your product remains the focus of the picture. For more creative pictures you can even venture to shoot objects on interesting wooden tables, marble design or colorful patterns.
But I usually like to stick with a white background and add some props, and this works especially well for flat-lays.
My white background is usually my desk. Chances are that you already have a white table around the house, so put that to good use. If not white backdrops are easy to find online. PVC papers are another great option to diversify your blog photography background as they come in so many colors and patterns.
A blogger’s first choice and a personal favorite is the simple foam board because they are easy to carry around and adjust when needed. Check out a few of my favorite (and personally picked) background and backdrop solutions below:
💎 GOOD LIGHTING
Every photographer out there will mention that having good lighting is crucial for great photos. I tested this out myself and I can confirm that it is true. Shooting in daylight, near to a window or open space has tremendously improved the quality and feel of my pictures and it made the products stand out so much more.
Even when I have the optimum lighting conditions, I like to have extra accessories to direct where the light is going and how it falls on the products. A couple of must-have photography accessories are:
- A small LED studio light – I have this set and the adjustable height, angle and intensity make it so easy for me to get just the right amount of light in the perfect spot. A ring light is another great option to consider, although slightly more expensive.
- A light reflector. I own this 5 in 1 set of disc reflectors and I can’t believe how cheap and useful these are in redirecting the light and diffusing it.
- An extra light is always useful even when you have the daylight on your side because the sun can’t shine in every direction.
- White light is always good, sometimes the intensity is too much for some products and the shine that it creates can ruin your pictures. This is why you need a light diffuser to “tame” the light and make it look softer. A simple white sheet might do, as long as it still allows the light to go through.
💎 OTHER INTERESTING PROPS
When it comes to photo props you want little props that will not take away focus from the main object, ut would rather compliment it and complete the composition. Odds are that you already have all you need lying around the house. Here are a few examples of what I like to use:
- Candles are a great prop and they even add a touch of magic to your photos.
- Flowers are my favorite props. You will see them often especially in my old Etsy pictures or in my Instagram flat lays. When you use depth of field (the background is blurry and only one object is in focus), it’s best to have something soft and subtle in the back. If you don’t want to buy fresh flowers every week, artificial flowers are a great option.
- Any type of stationary (from cute notebooks to simple sticky notes and pens) can really elevate your photos and make it look more natural. Both Blogging Mode and Paperchase have a large selection of amazing accessories to choose from and I’ve used both in the past. (They are like a blogger’s heaven!)
- Any other interesting frames, bowls or random objects that you have around the house. Once you start actively looking you would be amazed at the amount of possible props that were right in front of you this whole time. So get creative!
Check out a few more interesting (and super cheap) props that I found on Amazon below:
💎 AN EDITING SOFTWARE
Editing the picture is just as important as taking them and any photographer saves a bit of magic for the post-production changes.
I use Photoshop or Pixlr Editor to tweak my photos and make the products stand out. All I do is crop it so the composition is pleasing, increase brightness and/or contrast and sometimes the vibrance and mess a bit with the curves and saturation. A good software can make a huge difference even if you don’t know how to master it yet.
For editing photos on my phone, I use an app called PicsArt which offers all the settings I need and it’s free.
If you want to go pro, a software I suggest is either Photoshop or Lightroom. Both come with a super affordable Adobe subscription and they make such a difference in your photos (even with limited skills) that you are better off paying for this rather than a super fancy camera that you don’t quite understand.
💎 GOOD PHOTOGRAPHY SKILLS
Experimenting with different angles, camera settings and props can make such a huge difference and you will definitely improve your skills over time.
But if you want to learn quicker, and really tap into the potential that your camera has, I highly recommend taking a photography course.
If you can’t find any good photography classes where you live, ask a friend who really understands their camera to show you a few tricks and tips. And if that doesn’t work, online courses are a brilliant way to learn how to take amazing blog photographs.
Here are some of my favorite courses:
- The Photography Starter Kit for Beginners
- Fundamentals of Photography
- 30 Days of Photoshop
- Photoshop for Photographers: The Essentials
- Conquering Crappy Light
- Food Photography 101

In Conclusion
Product photography and improving your blog photography is not rocket science and once you start experimenting with different cameras, props and editing software, the process will become easier and more enjoyable.
A few final pieces of advice and tips that I use when I shoot my blog photos are:
- Get to know your camera. You would be amazed at what it can do once you get out of using Auto mode.
- Shoot and edit in raw if possible. This gives you so much more flexibility and better quality of photos.
- Use macro mode for small objects.
- Don’t overexpose. Learn how bright it’s too bright.
- Practice, practice, practice! That’s the only way to master this!
If you’re still looking for inspiration, check out this blog photography tutorial by an interior design blogger.
If you feel overwhelmed, and need blog photos quickly while you master the skill for yourself, check out my list of favorite places to get free stock photos (which means that you are allowed to use them on your blog for free and without crediting the photographers):
In the end, the equipment and props you need to shoot a few great photos are well worth the money and a bit of creativity and innovation will get you further than any expensive camera would.
Do you dabble in product photography? I would love to hear some of your tips on how to take great blog photos and what props do you use. Feel free to comment down below!
This is such a great post, I really need to invest in some sort of ring light or even those reflectors! Your photography is great 🙂
http://www.lauralouiseellis.blogspot.co.uk
Thank you so much, Laura!
Glad this was helpful!
I have just come across this link from you fab e-book (that I am loving by the way). I am useless at photos, but my autistic son is amazing. He has got his own Photograblog. Why on earth did I not think before about asking him to be involved. I have a few props. Need a decent white board background, but have a gorgeous little cabinet I can stage things on. I suddenly have lots of ideas. Thank you.
I have seen plain background like white background is always better to get a perfect product shot. Along with background lighting also plays a vital role indeed. Thank you for explaining all of the points with brief descriptions here.
I appriciate your conclusion that blog photography is not rocket science. Photo editing software make the better quality also. Thanks for your wonderful informative post.
thank you for the great info … and the photography tips .
I agree that light backgrounds highlight the presentation of the item. White is not always the best choice, but light pastel colors work almost always
Really enjoyed this guide! The tips are super practical and make professional blog photography feel so much more achievable I’m using that technics for my photography .That’s really wonderful